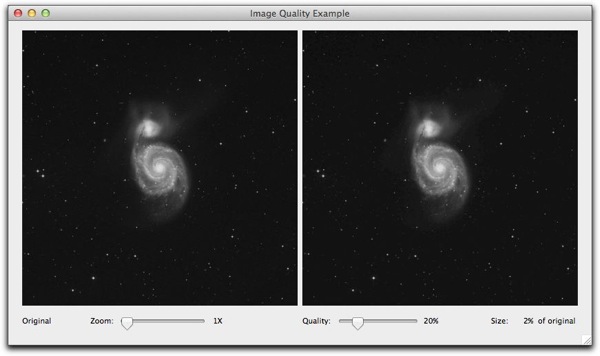
I have been asked on several occasions about the image quality setting in Image Preferences, and what effects it will have. To make things a bit clearer I have implemented a feature in V2.1 that compares the effect of saving DSS images at less than 100% quality. The results are quite revealing, even for me.
In the Image Preferences window, the DSS image quality setting now has an Example button.

Clicking the button displays a window containing two images. On the left is a 100% quality image. On the right is the same image, but saved using the given quality value (quality ranges between 1% and 100%). Also displayed beneath the right image is the size of the image (saved on disk) with respect to the 100% quality original. Note that the screenshots in this posting are themselves not of 100% quality, so subtle effects might not be visible until you get to play with this yourself.

Before we experiment further, an brief explanation of the “quality” we are talking about here. All images in AstroPlanner are stored internally as JPEG images. JPEG is a “lossy” image format. What this means is that unlike other common image file formats (e.g. GIF, PNG, TIFF, etc.), the image can be compressed by dropping some of the finer details and tonal ranges (how this is done is not discussed here – it’s somewhat technical). If you don’t need absolute fidelity, you can save a lot of disk space. At a quality of 100%, there is no loss of detail, but the file sizes are pretty big. As the quality decreases, the file size decreases dramatically. e.g. in the example above, you’d be hard pressed to see any difference between the 100% image on the left and the 90% image on the right, and yet the file size is 30% of the original size.
So, what happens if we reduce the quality down to, say 20%.

Wow. The size is now 2% of the original, and I bet you can’t see any difference. Lets now zoom in and look at the detail.

Not bad. The right hand image is showing some posterization and loss of detail, but it’s probably acceptable for most folk.
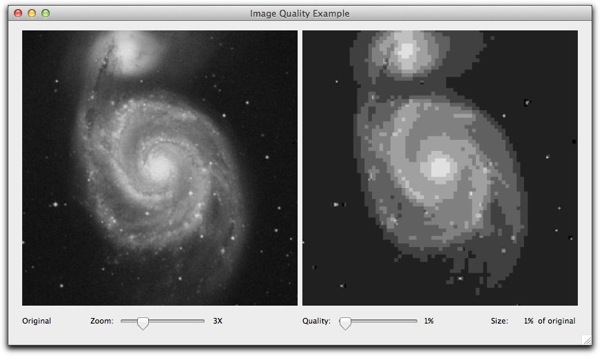
So what if we go the whole hog and reduce the quality to 1% (the minimum)?

OK, the file size is (probably less than) 1% of the original, but I doubt anyone would consider the image to be usable (even if it still is identifiable as M51).
It’s up to you what quality setting you use, but 20 to 25% is probably going to satisfy most users, and save a lot of disk space.
Note that a lot of the savings are due to the fact that the image is (a) monochrome, and (b) largely black.Â